Last year our graventstein apple tree had it’s first big set of fruit and it made the best applesauce I’ve ever tasted. Not exaggerating! So of course, this year I looked forward to more.
After a torrentially rainy period this spring, right during the peak of our fruit trees blossom, we ended up with a pretty meager fruit set, all around. Add in heavy impact from crows this summer, and we have about 4 apples on the tree right now. Ha. Wah.
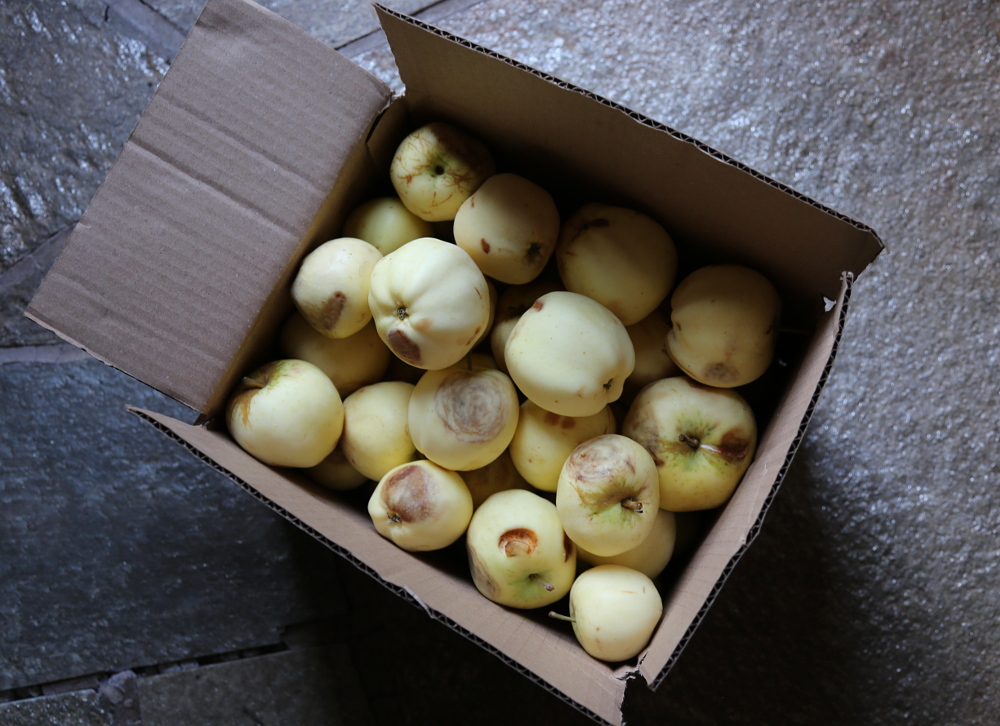
But this week I was lucky enough to have been offered a couple of boxes of windfall.
The apples were kind of mealy in texture – not juicy, and without any real crunch. But the flavor was nice. Delicately sweet with a bit of tart, and so fragrant. To my surprise they made perfect applesauce. Perfectly sweet; a smooth, creamy texture, and with no added sweetener.
I thought I’d share the superb simplicity of making unsweetened applesauce. There is not much to it and it’s such a treat.
And if you are new to water bath canning, maybe this will ease any reluctance you might have, like I once did. Or, don’t can at all and just enjoy some homemade applesauce.
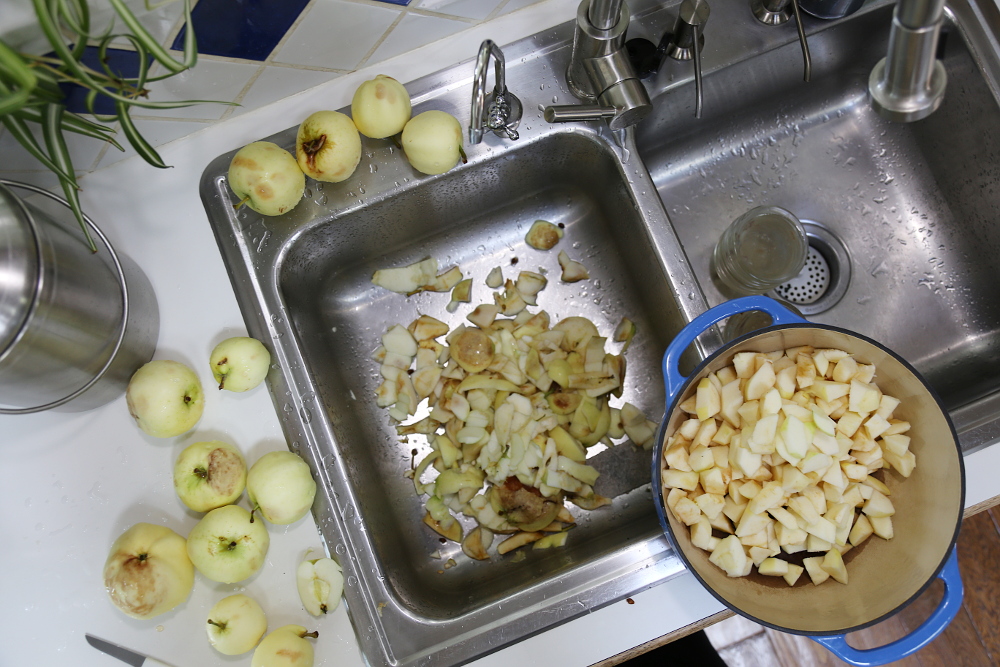
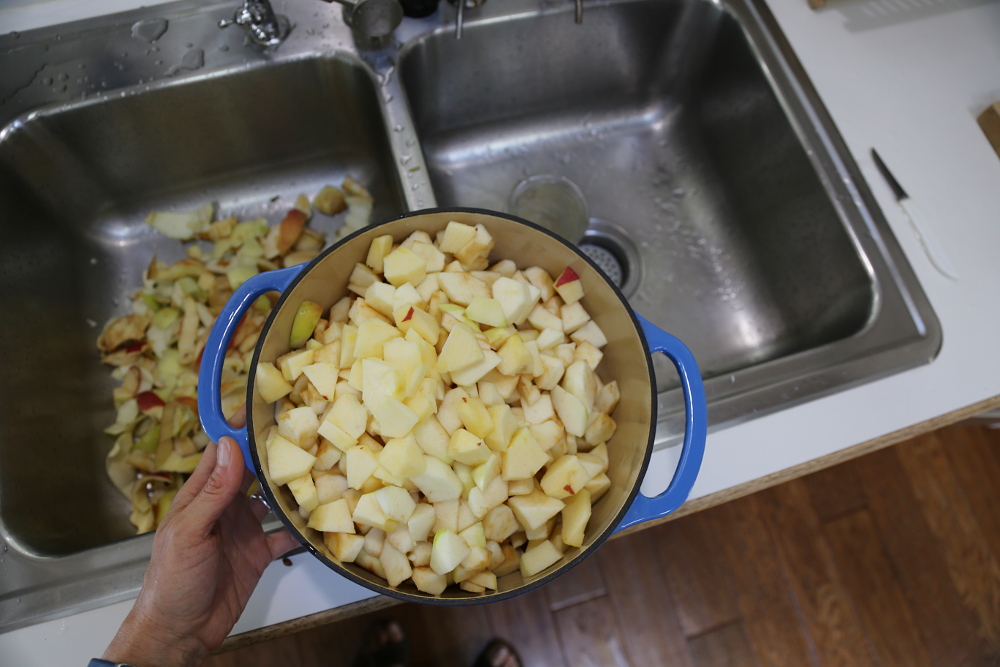
For this batch I started with 3 pounds of fruit, after removing all the waste.
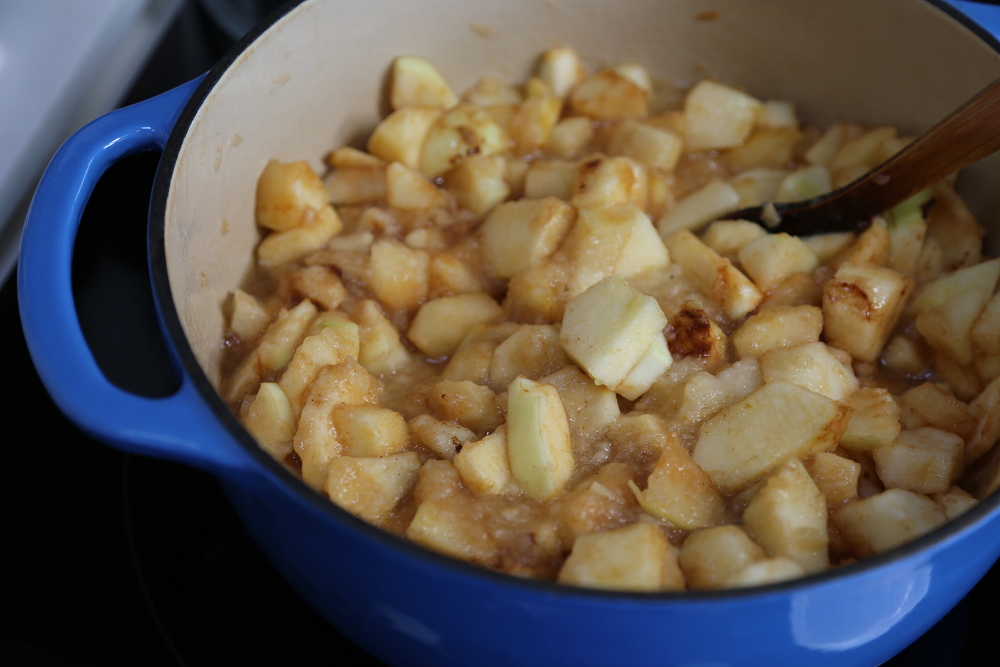
I added a good splash of water, the juice of half a large lemon, a pinch of sea salt and cinnamon.
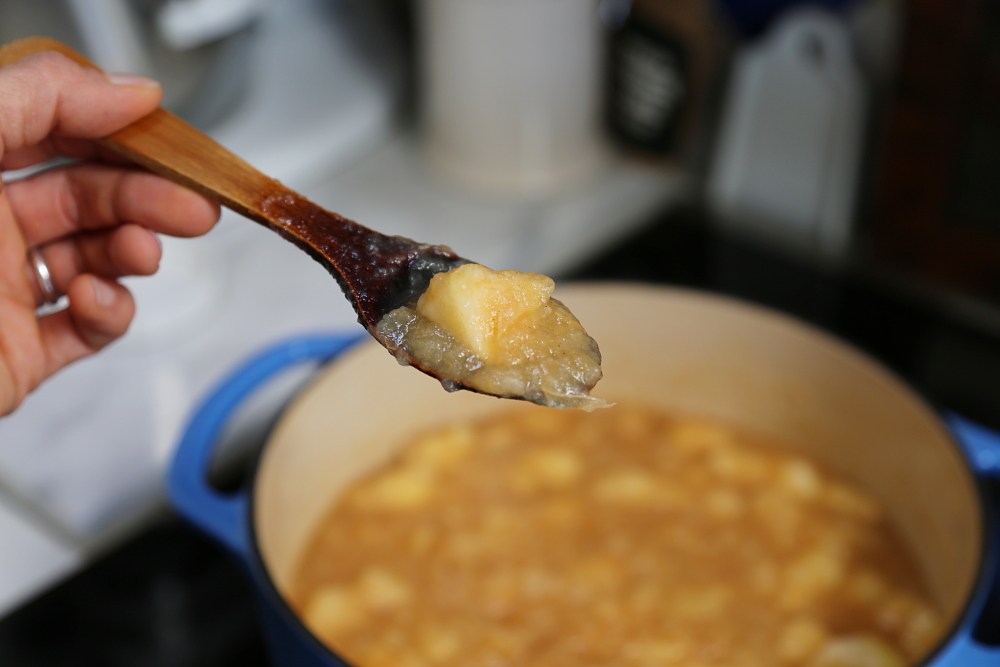
Let this cook on medium heat until it softens and becomes saucy. You can blend it smooth or leave it chunky. I like it chunky, so I didn’t do anything except leave it on the stove, occasionally stirring, until it was cooked down to my liking.
At this point you could fill your jars, let them cool and then refrigerate what you’ll eat within a week and freeze the rest.
Or, if you want to make your applesauce shelf stable you can process them in a hot water bath.
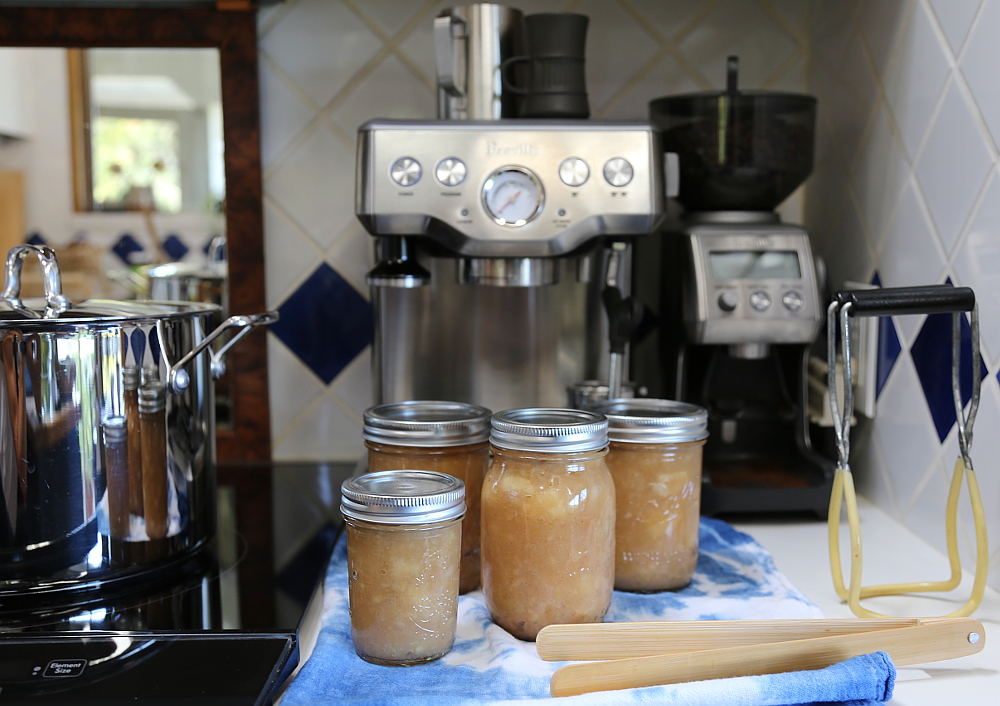
This batch made pretty much exactly 3.5 pints. I water bath processed the pints and put the half pint into the fridge.
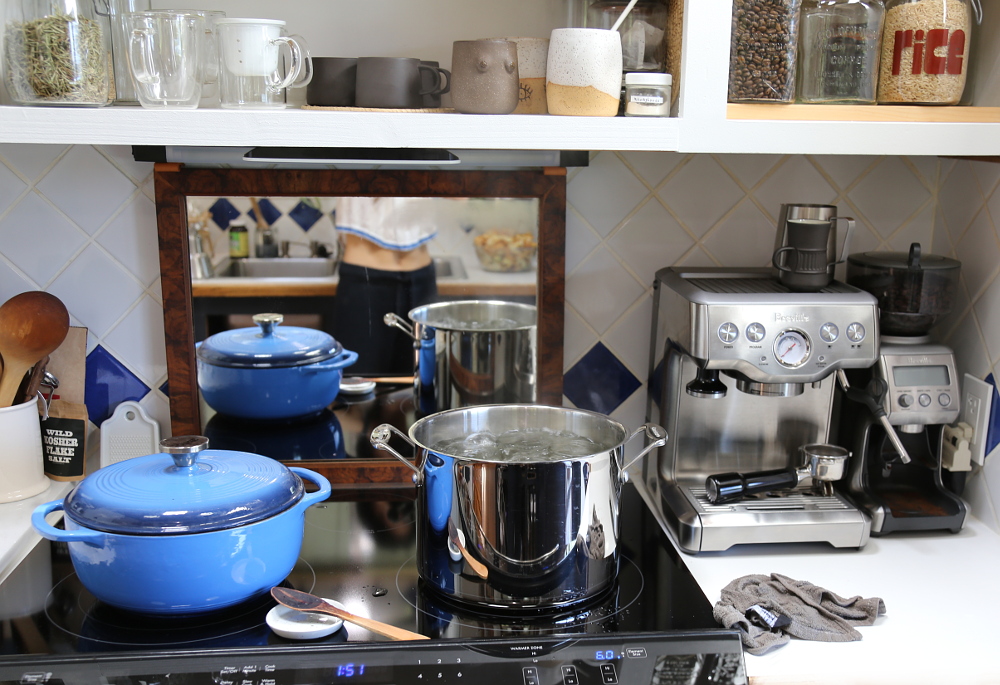
Start by sterilizing your jars.
Bring a kettle of water to a boil and with a pair of canning jar tongs, submerge your jars in the water and cover for a few minutes.
Set yourself up with a clean towel near your canning pot. Remove the jars and place them on the towel. With your applesauce ready and your jars sterilized, you can now fill the jars.
Leave 1/4 inch or so of head space and make sure the rims are clean so you get a clean seal
Now be ready with your jar seals and rings.
At this point I drop my jar seals in the pot for a moment or 2 to soften the seals, and then remove them with tongs.
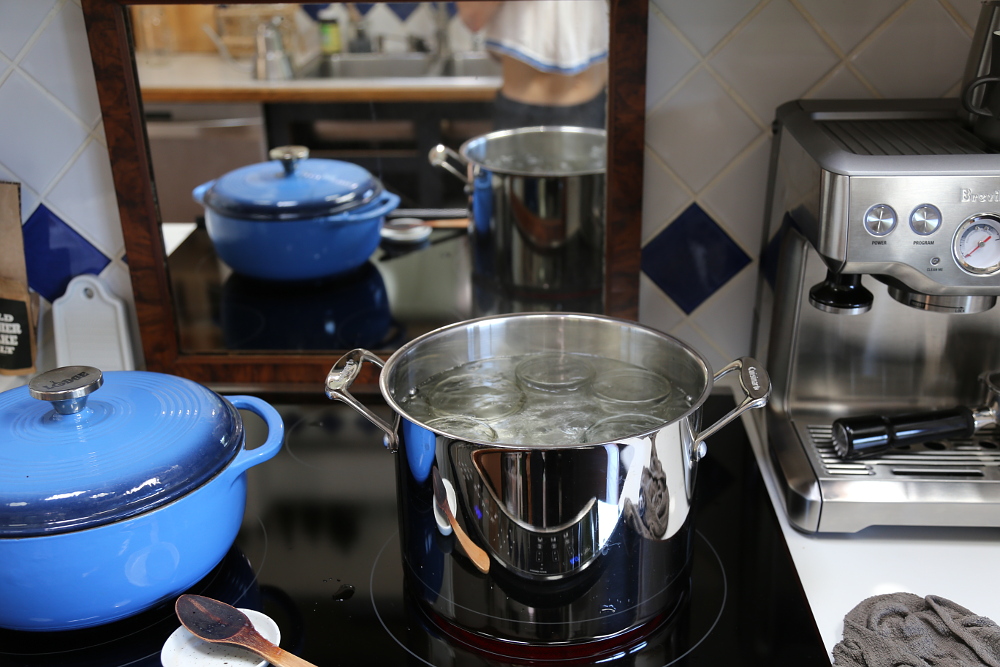
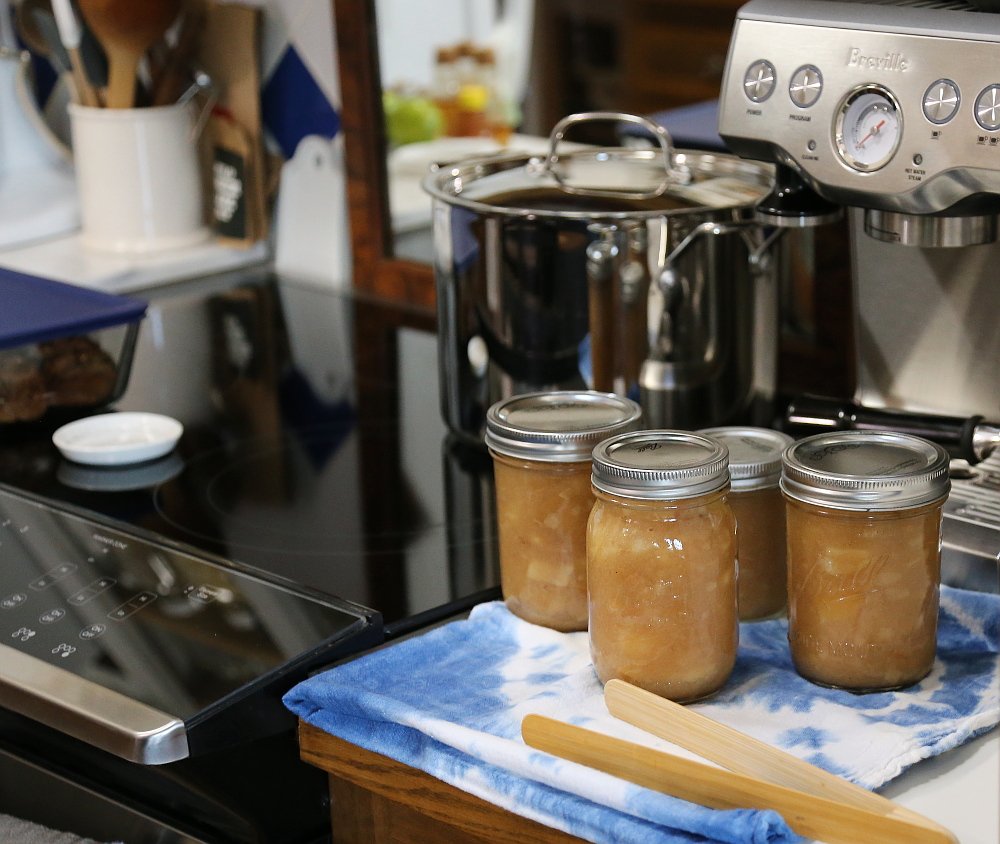
Set your seals on your jars and fasten the rings snug. With your canning jar lifter tongs, place each jar in your canning pot. If I am not using an actual canning pot, as in this case, I drop a cotton cloth into the bottom of the pot to insulate the jars from direct contact. With small batch canning I like to use this smaller kettle. You can use what ever kettle you prefer that fits your project. Just be sure your jars are able to be fully submerged, with space for boiling.
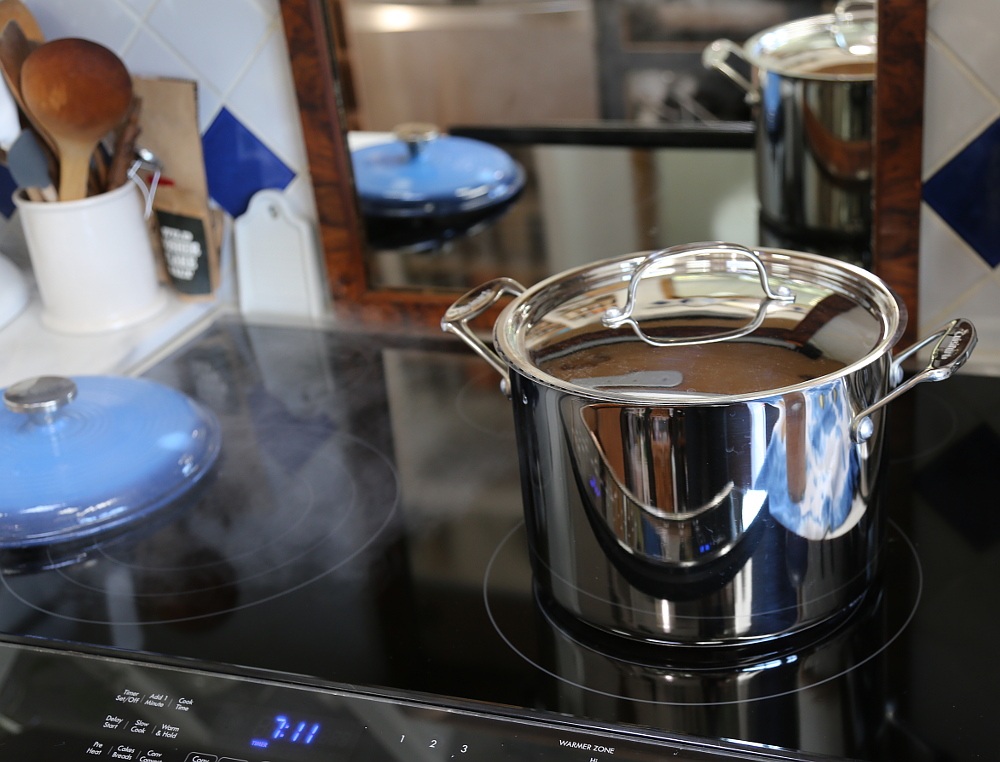
Let your jars process at a rolling boil for 15 minutes (20 minutes for quart sized jars). Set your timer!
After 15 minutes, carefully remove your jars with your canning tongs and set them on your towel to seal and cool.
You should soon hear each seal make a satisfying little pop, and the tops should pull inward slightly.
And you’re done!
Enjoy!
Are you a home canner? What are you up to right now? And if you’re not yet, do your think you you’ll try? My first few times felt a little scary and very tedious. Now it’s something I can do with ease and relaxation, and I love feeling comfort with this kind of useful skill that has been passed through so many generations. I encourage you to try if you haven’t.
Norma H Aguilar
Our dear friends moved to CO which ended our supply of graventstein apples. They were always a hot mess all over the ground but made the BEST applesauce. Your post makes me want to track some down. ♥
Abby
I 100% agree. They are the PERFECT applesauce apple <3