Well, I think I’m pretty close to achieving the perfect tempeh Reuben sandwich, with thanks, in part, to homemade sauerkraut. If you are a fan of sauerkraut, it’s easy enough to make that it’s truly worth the crispness, fresh flavor and increased probiotic action that homemade offers over most storebought versions.
I took some photos this time around and thought I’d share the simple process. This time I made a gingered version, but you can leave it out if you prefer.
Gingered Sauerkraut:
One head of green cabbage, about 3 pounds
2 inches of fresh ginger, peeled and grated
2 Tbs sea salt
Extra brine (salted water) if needed
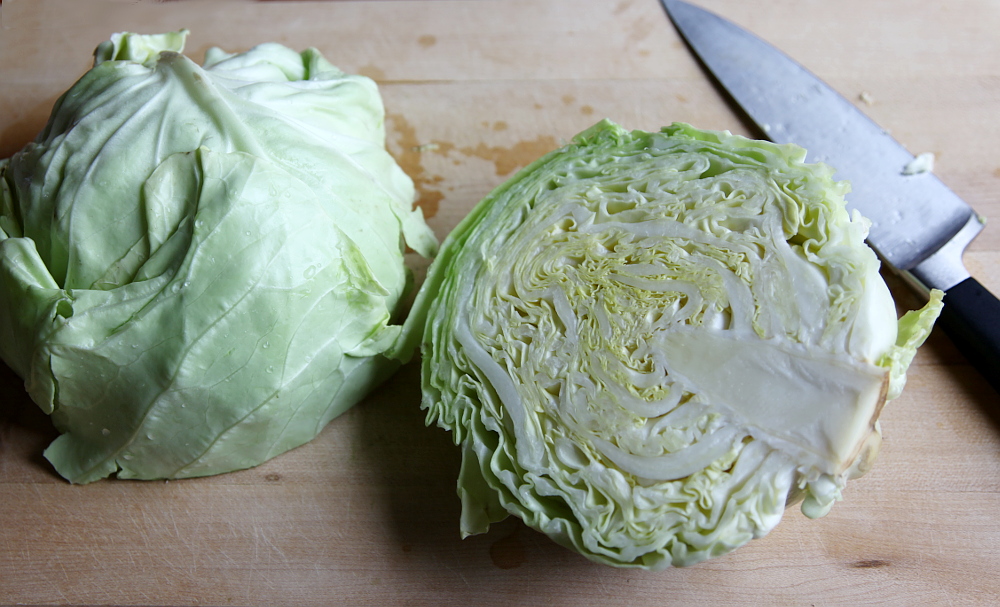 Peel away and compost the outermost leaves, and halve and core your cabbage.
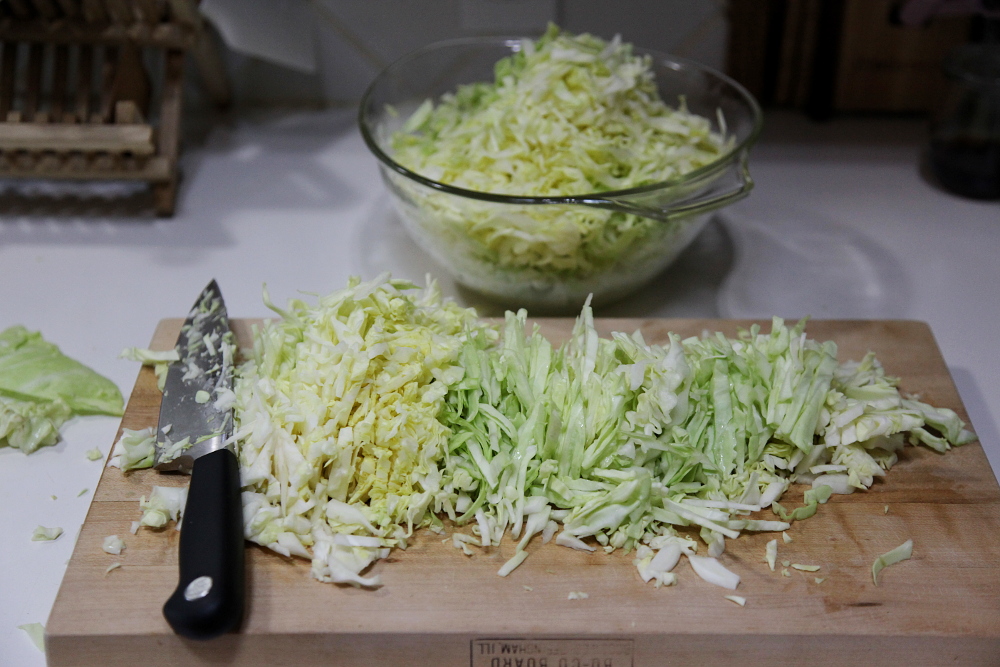 Chop the whole head into thin long strips, or to the size pieces of your liking.
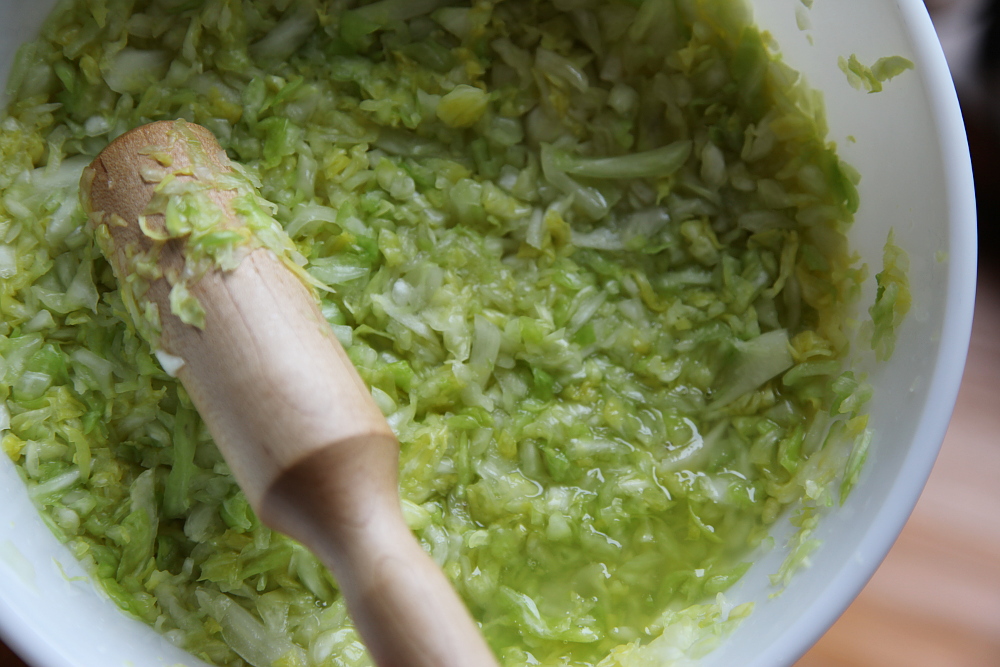
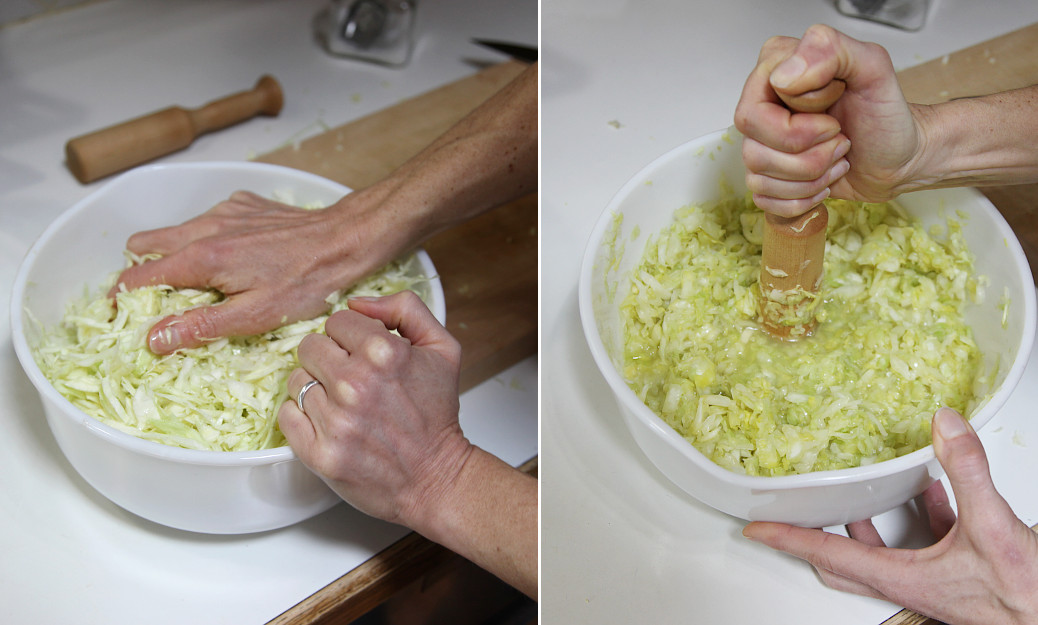 In a bowl with ample working space sprinkle the chopped cabbage and grated ginger with sea salt, and begin to massage the salt into your mixture. Once the cabbage has softened up a bit and the juices have begun to release, I like to employ the help of a masher. Mash, pound, massage the cabbage until it’s evenly bruised and has become quite juicy.

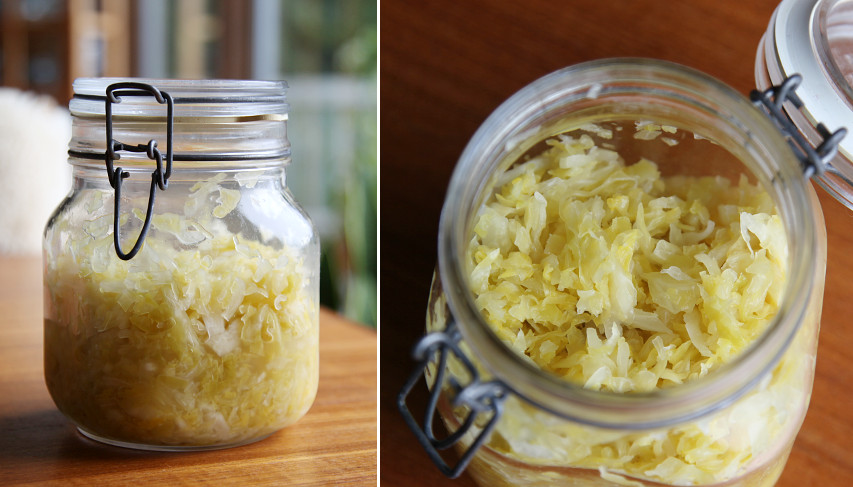
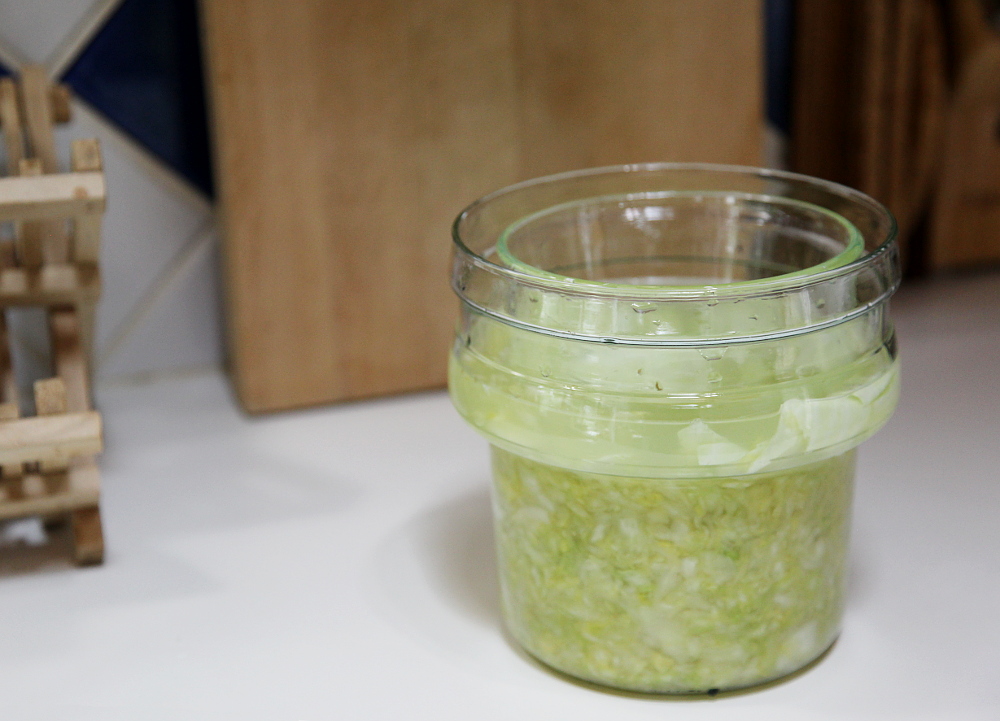 For fermentation, I have used mason jars, bailing wire jars, and my favorite so far – this old glass double boiler pot with the handle removed. What ever you choose, it should be non reactive and large enough to allow for a couple inches of head space (the mason jar pictured below was just a little too full and I ended up transferring some of it).
I save aside a whole cabbage leaf or large piece to lay on top of the kraut to help contain any stray pieces, and then set a short glass jar or dish on top of that to keep it all compressed into the brine.
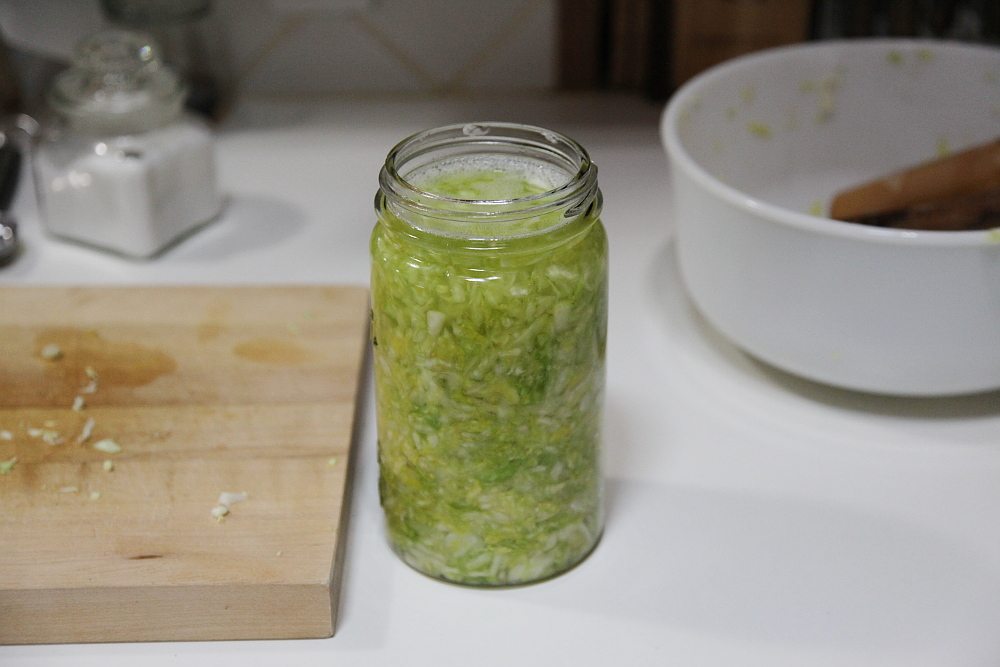 Transfer your kraut into your fermentation container and pack it down with clean hands or some kind of masher to help release any air bubbles and to push it below the brine.
Make sure all of the cabbage and other vegetable matter is below the surface of the brine, as contact with air can allow for mold and bacterial growth.
 There should be an inch or so of brine above your cabbage. If you find you need more brine to achieve full coverage, you can mix up some pure water and additional salt.
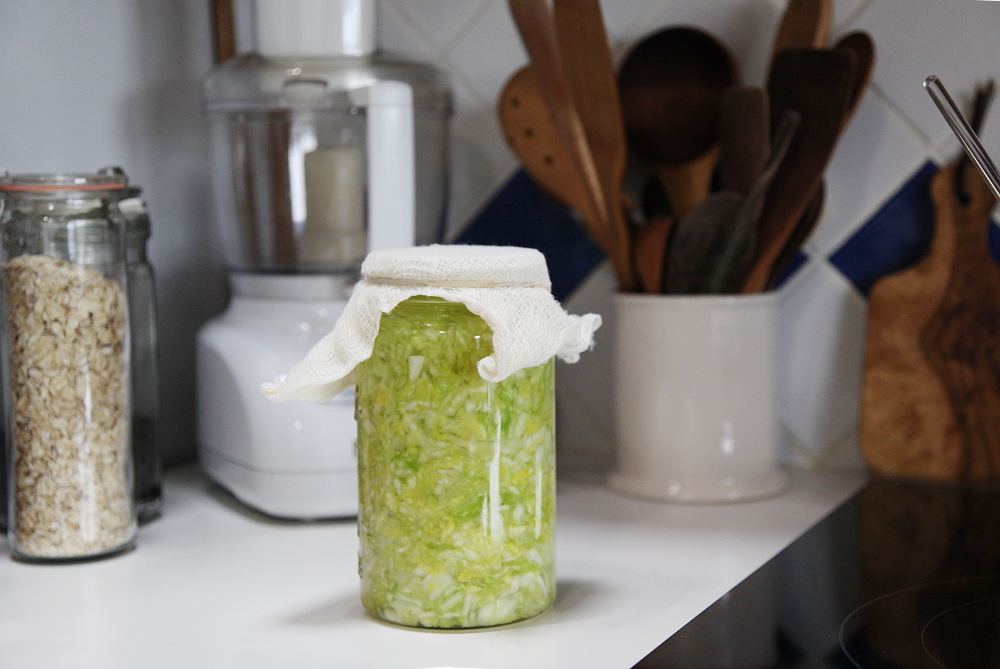
Cover your kraut securely with a clean cloth, or a top that allows gases to escape. There are some great airlock options out there. I have considered these kraut kaps, for example.
 Now, you just need to let it ferment!
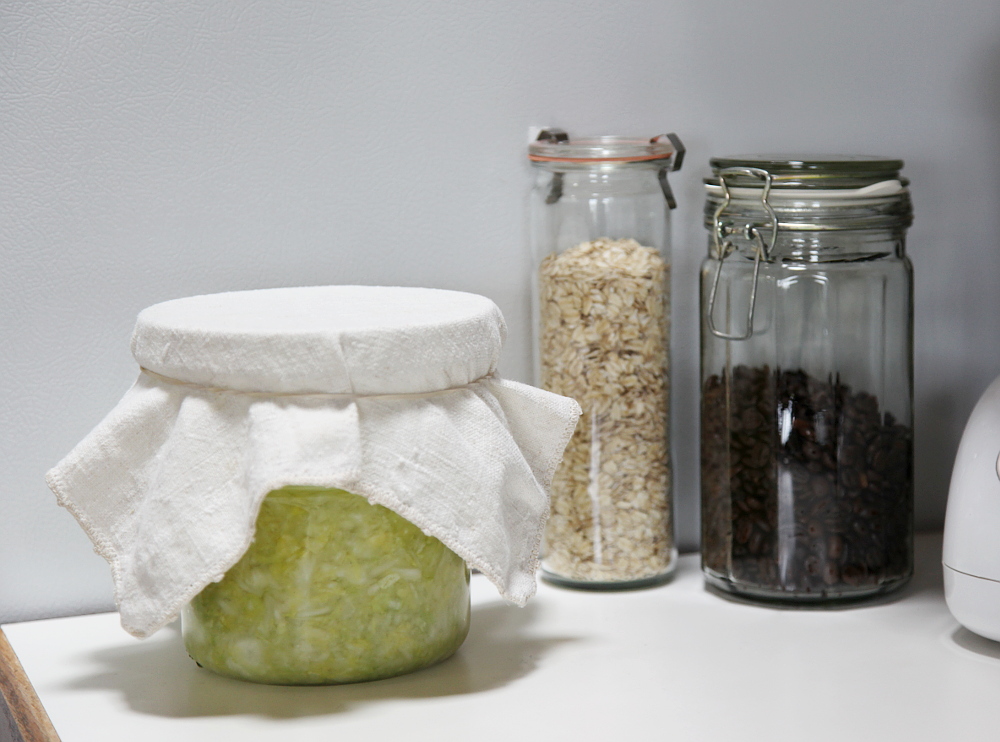
Normal room temperature, 65-75 degrees, is just right, and protection from direct light is helpful. I wrap my containers with a clean cloth to cover them from light. You could also tuck yours into a cupboard, or do what ever suits your space.
Check on your kraut every couple days to make sure it remains below the surface of the brine.
You can let it ferment for any amount of time you wish, tasting as you go until it’s just to your liking. I like to ferment for a minimum of 2 weeks, and have yet to get ahead enough (or be patient enough) to go for more than 3 weeks. Keep in mind that the time of year (temperature of your kitchen) can alter fermentation time. For this batch I hope to ferment for at least 4 weeks.
*When your sauerkraut has fermented to your liking, seal your container, or transfer your kraut to one that will, and refrigerate. Your sauerkraut should keep in the fridge for months.
*thank you Amber, for asking this question in the comments!
+++
Pictured below is my last batch of sauerkraut. I love adding sauerkraut to sandwiches, tacos, burritos, on top of salads, or tasting straight from the fork. It adds zest and interest to meals, while also providing a healthful addition to the diet.
Similar to cultured dairy, the fermentation process of sauerkraut produces beneficial bacteria, or probiotics (by way of lactic acid fermentation). As many of you may know, probiotics support the digestive system and therefore the body’s overall ability to process nutrients and fend off illness. Lactic acid is a natural preservative that inhibits the growth of harmful bacteria (you can learn more about this here), and is the key that makes this all go. To mention just a few more things, sauerkraut also contains significant amounts of Vitamin A, Vitamin C, Vitamin K, Vitamin B6, folate, iron, manganese, copper, magnesium and calcium. It is also fairly high in sodium, so keep that in mind if your diet already includes enough. I tend to be a little on the low end of sodium, so I don’t worry I’m getting too much here. There are low salt methods of making sauerkraut with whey that can be explored for those interested. I tend to have an ample supply of whey from straining yogurt, so I might try it sometime. If I do I’ll report back!
And my fairly standard, very home-made-from-scratch lunch today, with related recipe links below for those interested.
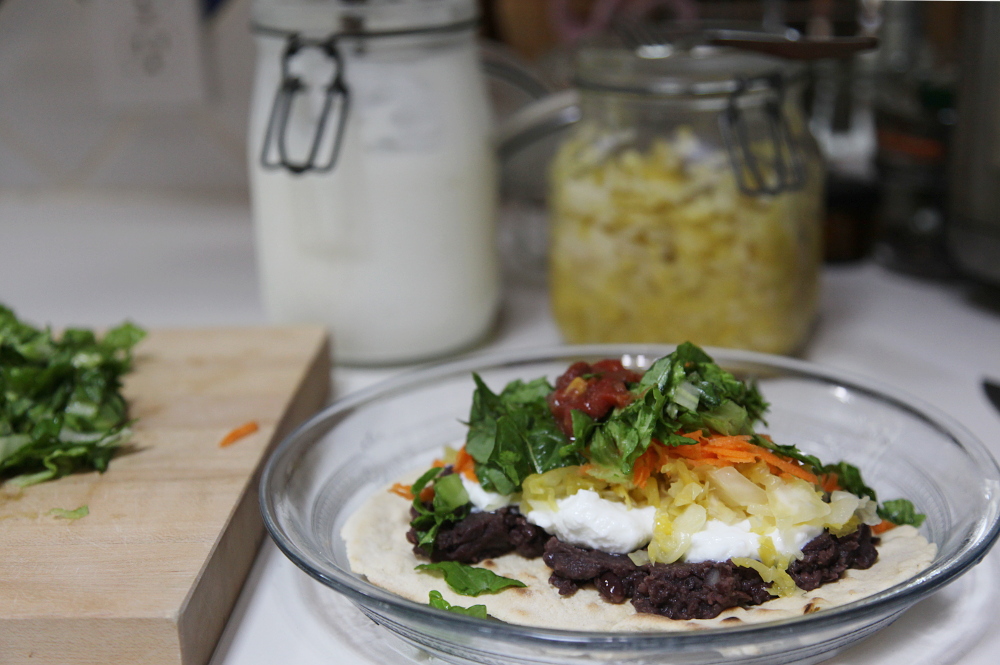
Gluten free tortillas with adzuki beans, yogurt, sauerkraut, shredded carrot and romaine, and a dollop of salsa (I can’t seem to find the recipe I used, but it was something similar to this).
Cheers, to health and well being.
(tempeh reuben sandwich post coming soon, I think 🙂 )
Amber
I definitely want to try this again. The first batch I made years ago, wasn’t so yummy. My taste has changed tough! One question… Do you transfer the completed kraut to a new container with an air tight lid when finished? Do you store in the refrigerator when fermentation time is complete? Thanks Abby! You are always inspiring me?
Abby
Thanks for asking, I should have elaborated on that. Yes, once you’ve reached the level of fermentation that you like, seal your container, or transfer to one that will seal, and refrigerate. Refrigeration will halt / greatly slow any further fermentation. Your sauerkraut should keep in the fridge for months. Thanks Amber! xo
Beth
Wow, I am impressed. And hungry!
Denise
awesome Abby, i am trying to eat a little sauerkraut daily. It might be time to make my own as store bought is a little spendy!
Sherrie
I made my first batch a month or so ago, and it is delicious! I used a Pickle Pipe (made by MasonTops) which I backed on Kickstarter – it’s a super-simple, one-piece silicone one-way valve that you use with a wide-mouth Mason jar. It’s terrific! And my ‘kraut is DELICIOUS! 🙂